This piece is designed to match a country cupboard I built for a customer a couple of years ago.
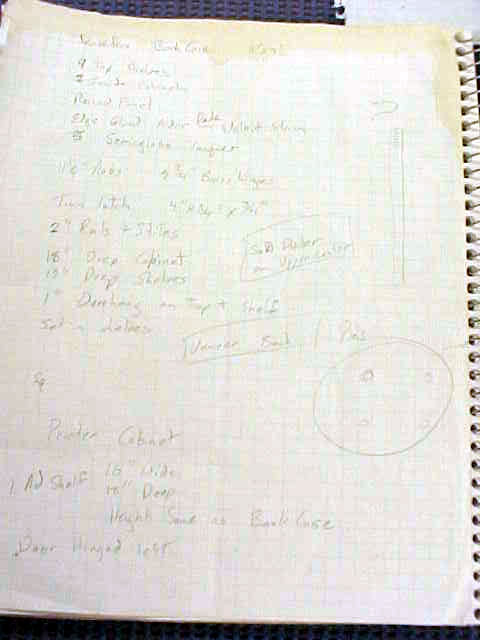
These are the design notes I wrote for the piece when I met with her.
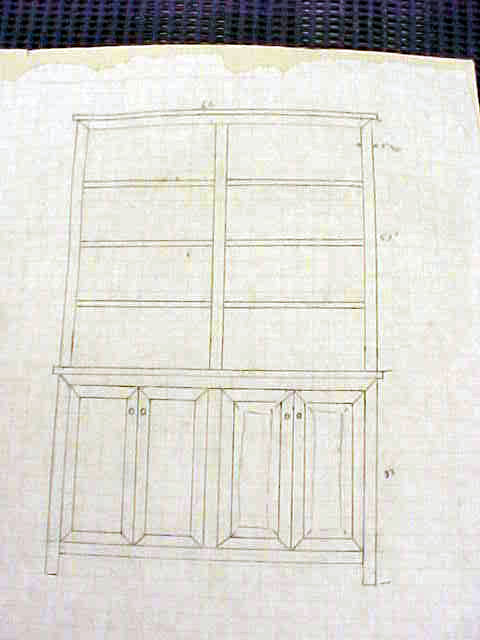
This is the preliminary sketch of the cabinet. This cabinet will have adjustable upper shelves.
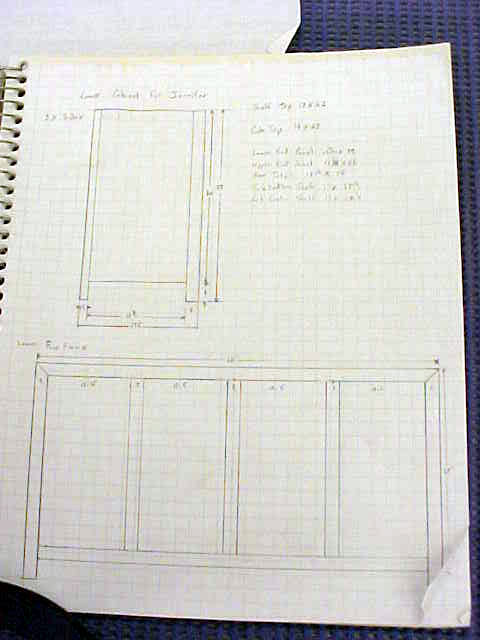
This is the measured drawing I am building the cabinet carcass from.
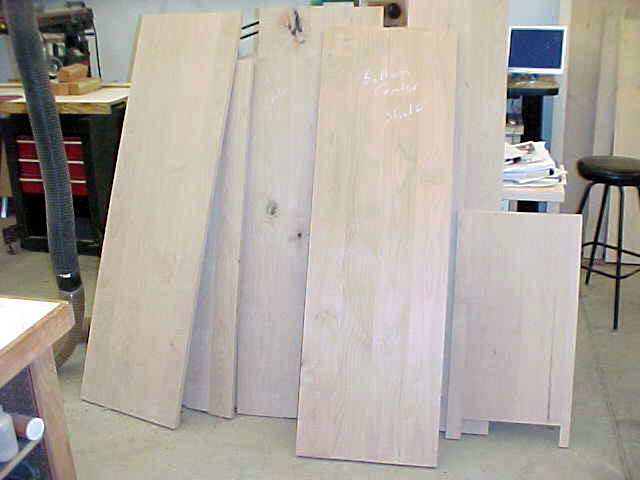
These are the glued up panels for the sides and tops of the cabinet carcass. They were made from S2S 15/16" select Alder.
After planing the stock to 7/8" for the tops and 3/4" for the other pieces I edge glued the panels with biscuits every 10"
Next I hand planed the panels to flatten them and remove any glue squeeze out
then ran them through the surface sander and finish sanded to 220 grit by hand.
the next step will be to cut the panels to size and begin glueing up the carcass.
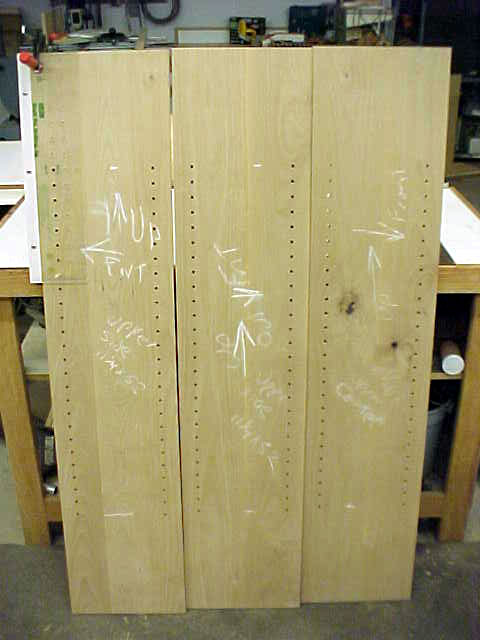
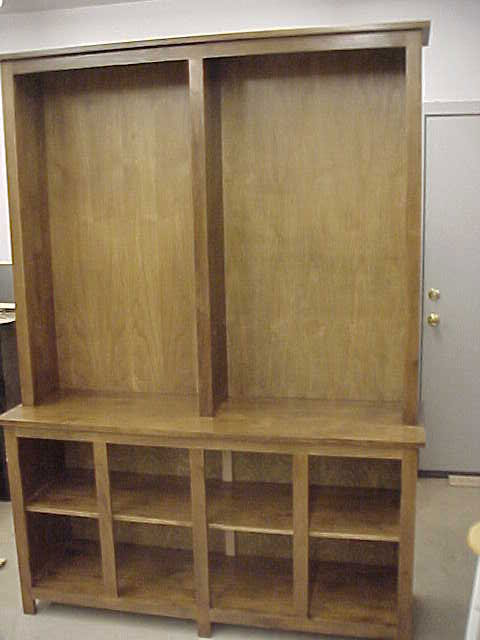
Here's a shot of the shelf pin holes drilled in the upper cabinet sides and center.
The jig I used is attached to the upper left side. It is made of clear acrylic so it's hard to see.
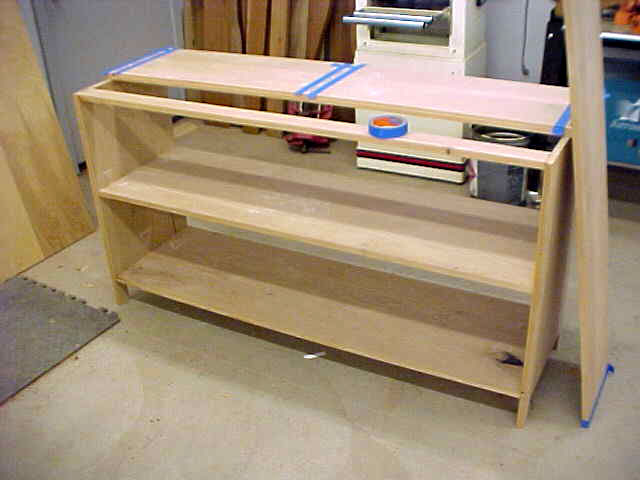
The lower cabinet carcass glued up.
I thought this was the hardest glue up I had ever done until I glued the upper cabinet
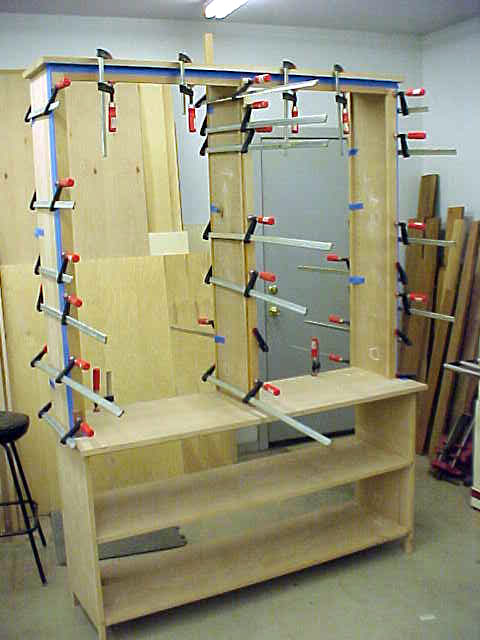
The upper cabinet carcass glued up.
All the clamps still in place.
I prepped this job for half a day and still fought this glue up for over an hour.
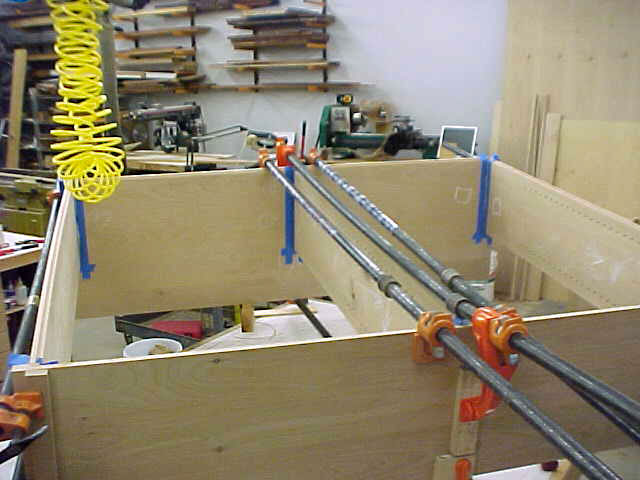
This is the face frame glue up of the upper cabinet
All the clamps still in place.
The face frame is attached with #20 biscuits every 8 inches..
A shot of the upper and lower cabs after finishing.
Not too many pics of the finish process. Finishing keeps me too busy to take pics.
The doors and the shelves are in the finish room now.
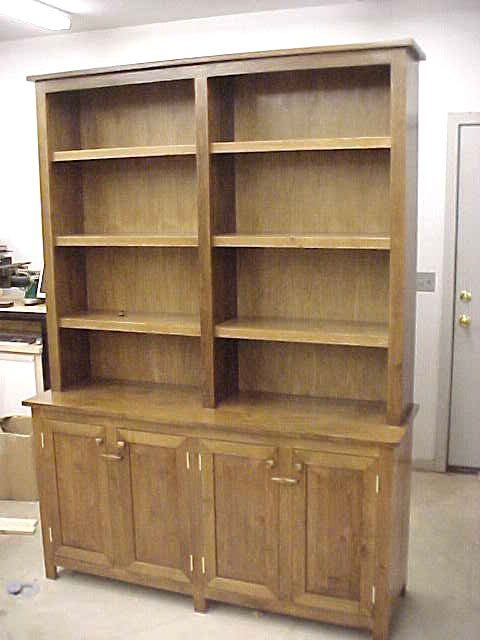
Here's the finished product...
| Home | Welcome | Bio | Gallery | Education | Studio | Tools | Projects in Progress | Board Foot Calculator |