I strongly believe that you can't build until you've done all the planning.
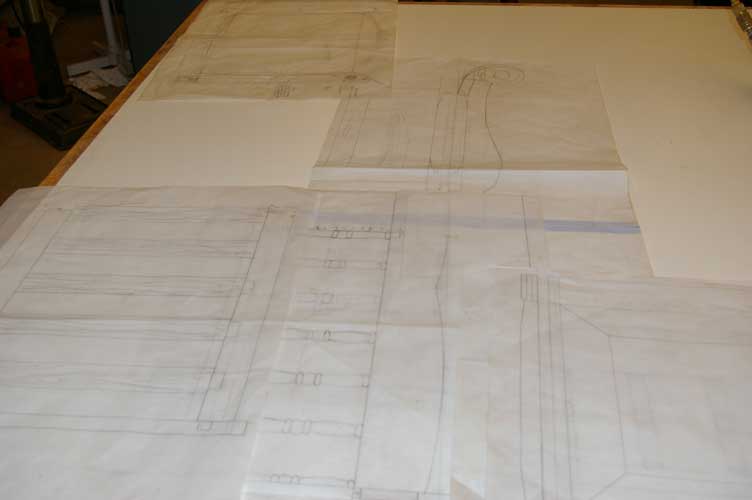
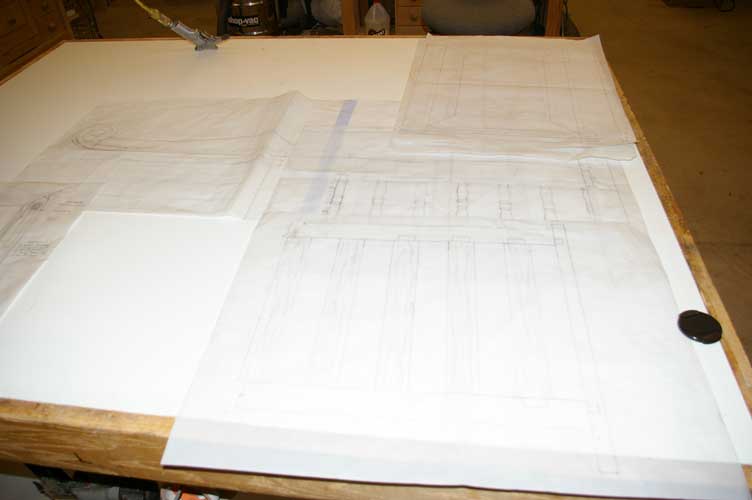
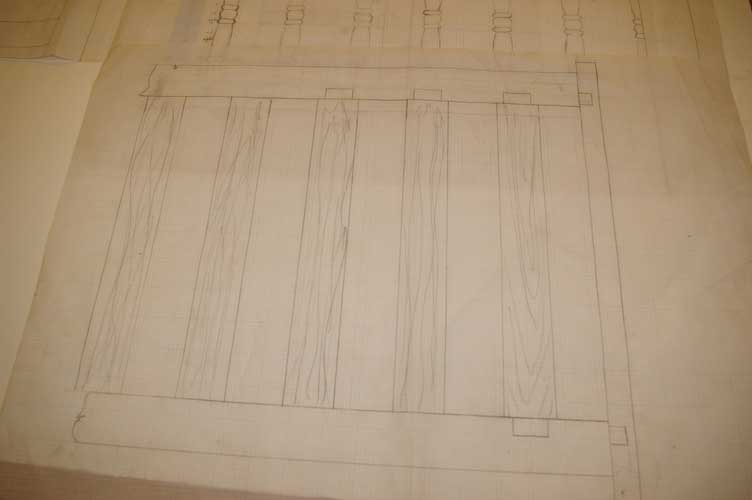
The next few photos show some of the plans (both scale and full size) and some of the patterns for the templates for the template routing.
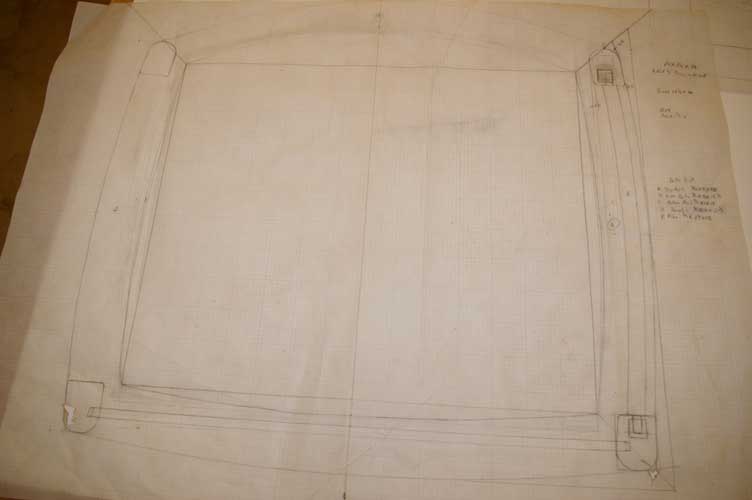
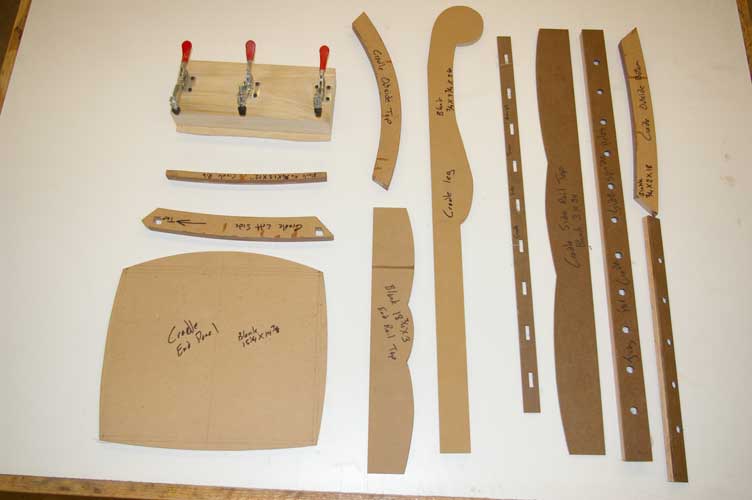
I had to make full size patterns and a fixture to hold the cradle rocker slats
the patterns were taped to the materials with double back tape then
I use a pattern router bit to cut around the shape.
If you haven't done any pattern routing I suggest you give it a try.
The fixture holds a blank and pattern on edge to shape it then flip them around in the fixture to shape the other side.
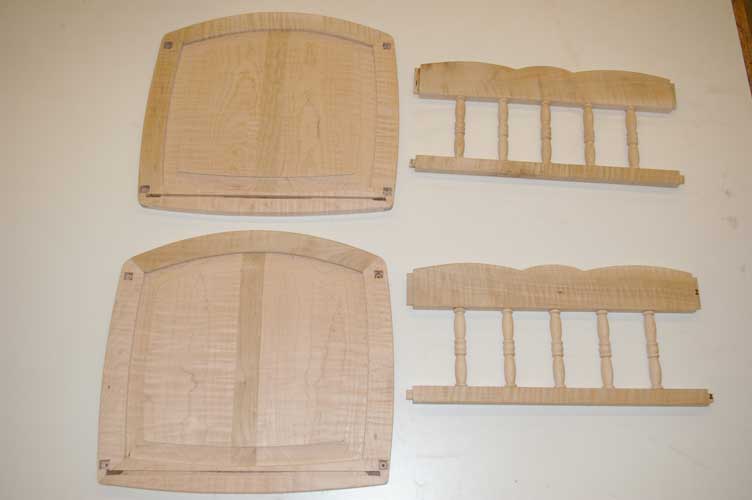
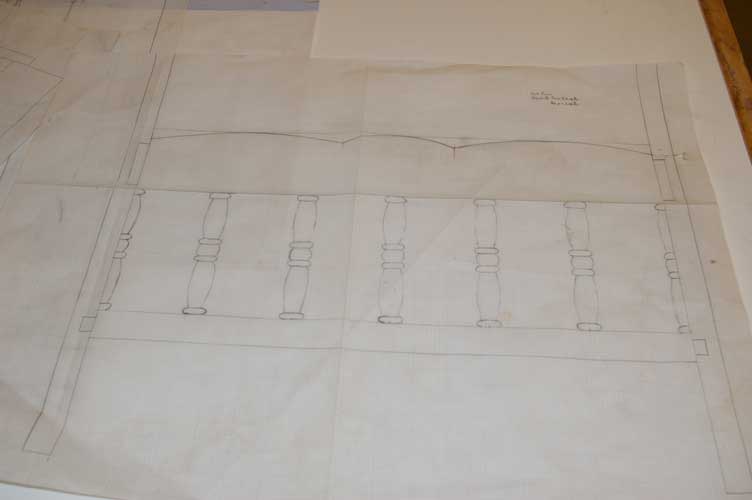
This is a shot of the ends for the rocker and the ends for the stand.
I turned the spindles on my CNC lath.(See the tools Pages)
I have to write code to run the lath but once it's done I
just have to load the blank and run the program.
These are the lower sides of the rocker stand. I drilled all the holes using a guide template then
I used the router template bit to shape the curve on the parts.
All the tenons were cut before any other work was done so they could be shaped while the stock is still square.
The order that work is done is very important.
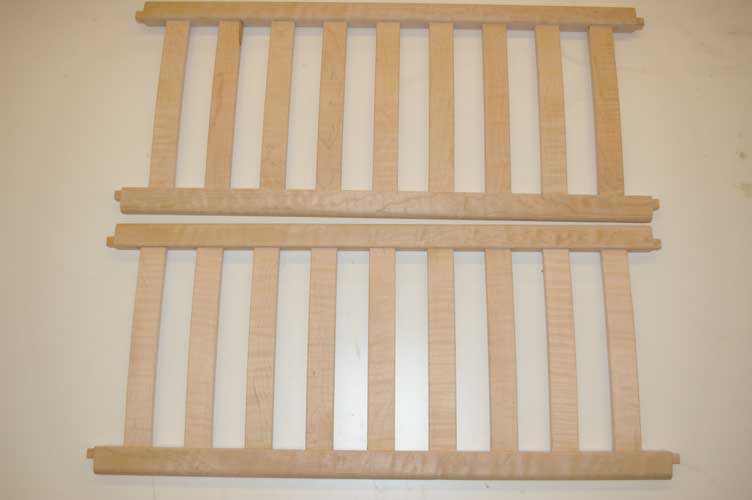
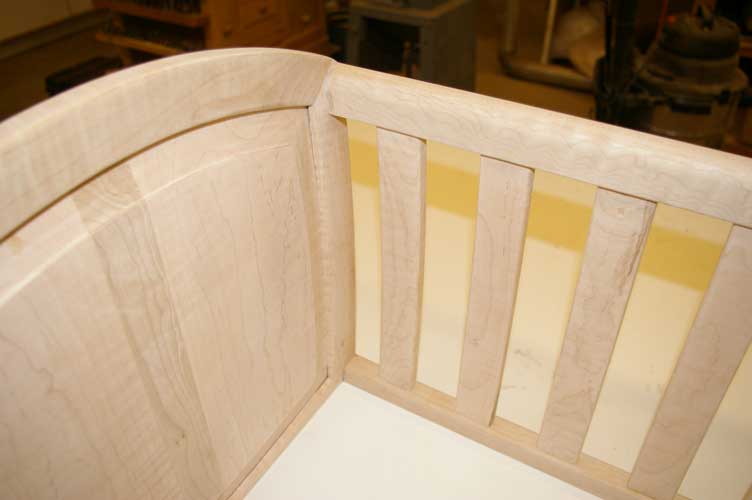
The sides of the rocker took some creative machining. The upper and lower rail are not square and slant as well.
All of the mortises and tenons on all the parts were cut while the parts were still square.
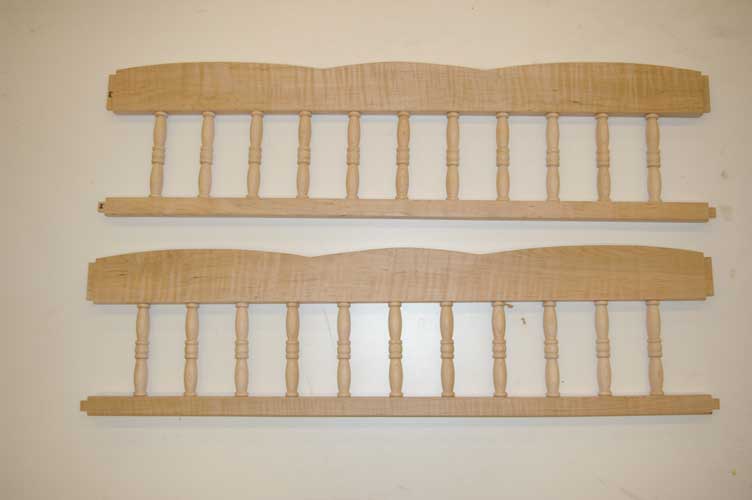
The slats for the sides are curved by template routing and are tenoned into the rails.
The rails were cut slanted on the table saw then rounded in the table router.
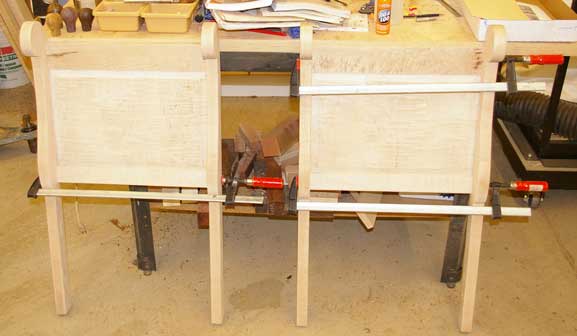
These are the ends of the stand set up in a dry fit.
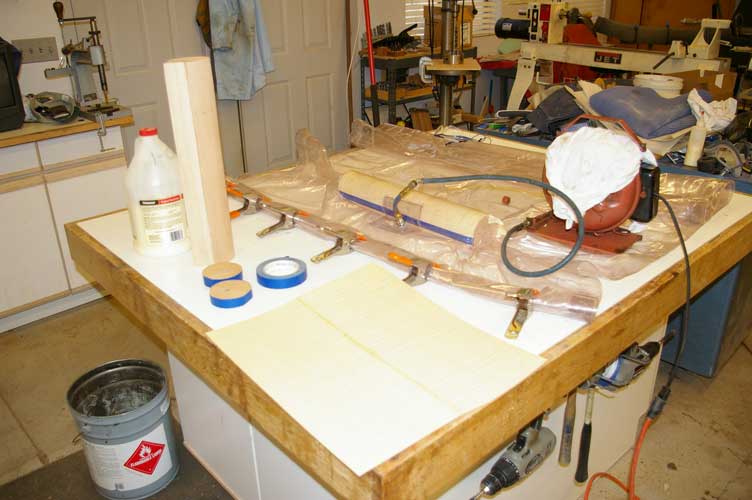
The scrolls are actually turned round on the lathe then veneered.
That process is shown in the next pics.
This is a view of an end scroll wrapped in the veneer and vacuum pressed. I used yellow glue and it dried too fast so I won't use it again.
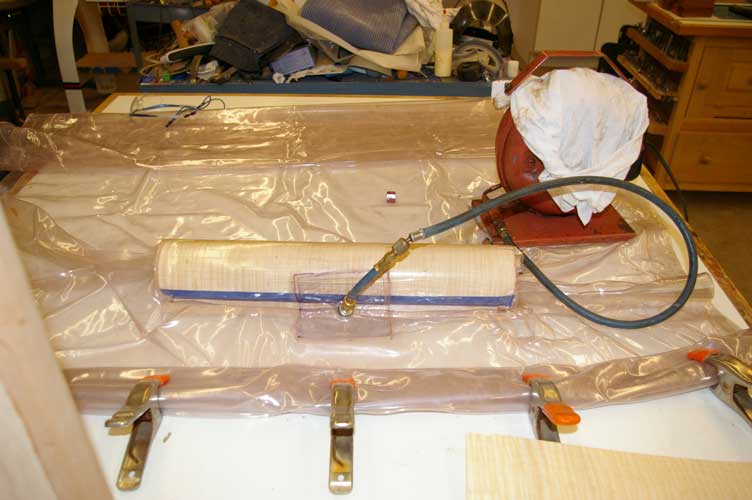
If you haven't used a vac press for veneering you really gotta try it.
I built the vac press myself. It wasn't that hard and was cheap. The pump is an old refrigerator compressor.
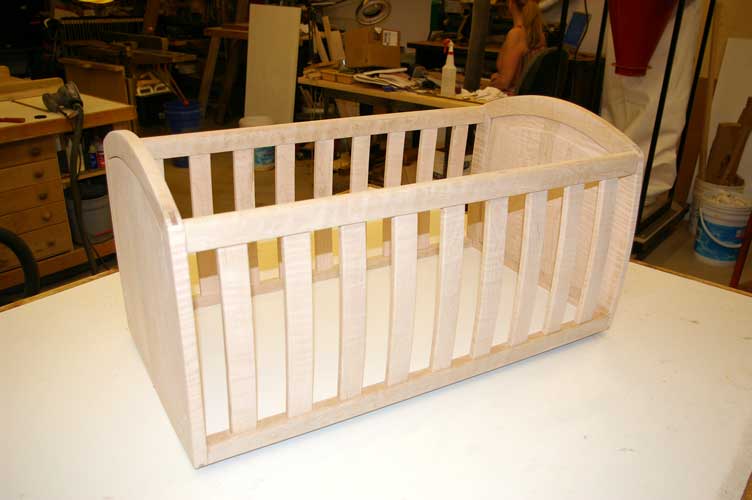
Here's a shot of the rocker after glue up.
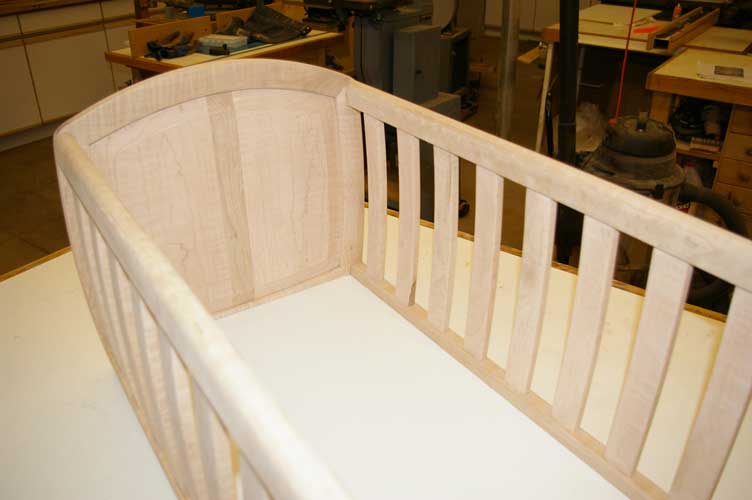
Another shot of the rocker after glue up.
Another shot of the rocker.
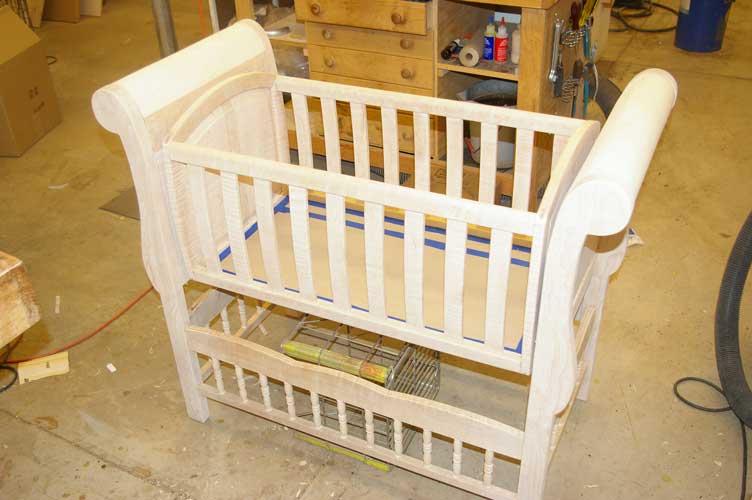
Here's the entire setup after glue up.
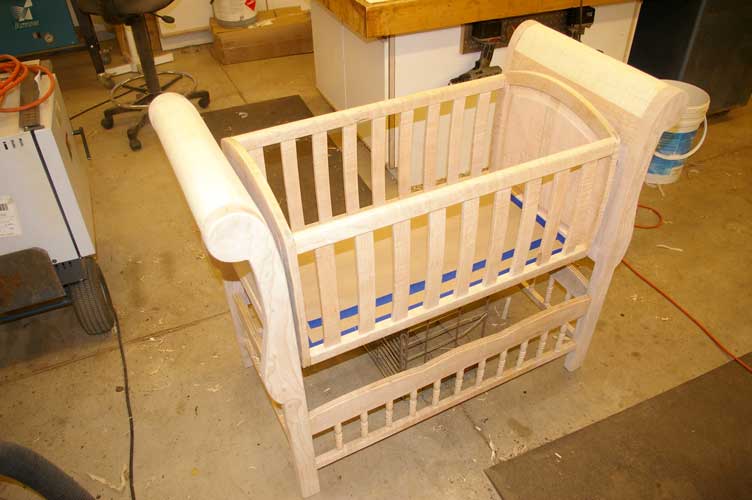
Another shot of the assembly.
I somehow forgot to get any pictures of the glider rocker assembly I built from
strap steel and bearings. You'll just have to take my word that it rocks :-)
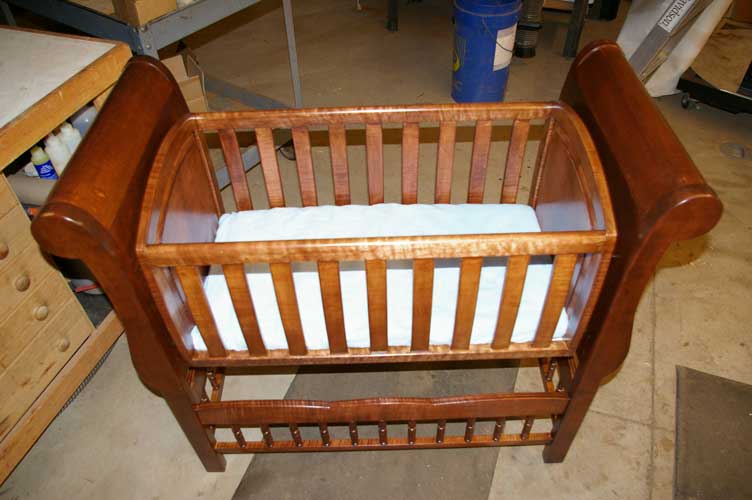
The rest are shots of the finished cradle.
I used a water based stain over a shelaq sealer then sprayed several coats
of gloss lacquer followed by a satin top coat.
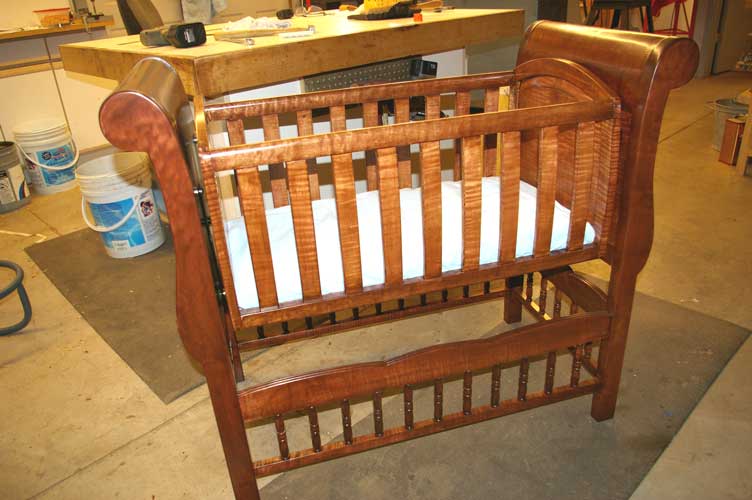
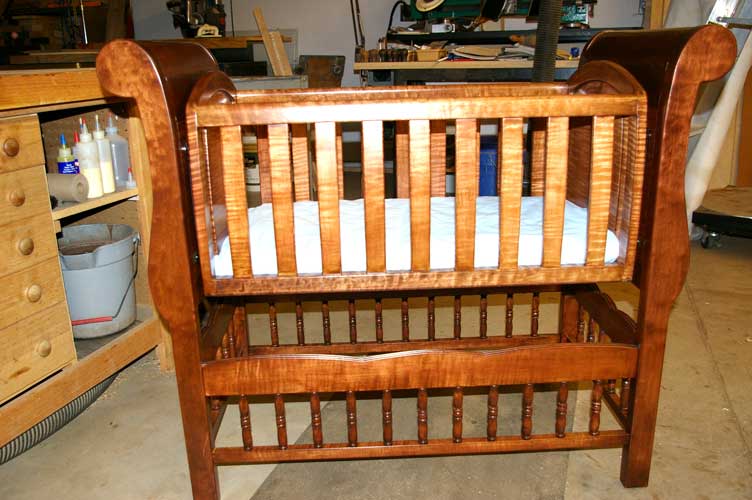
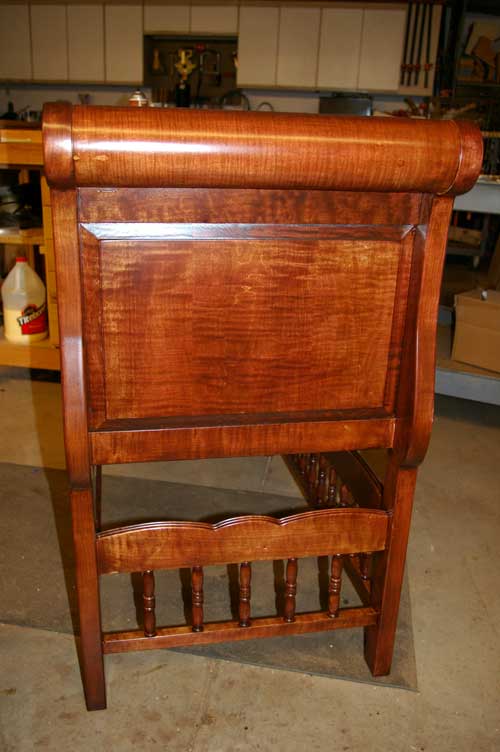
Project Complete
Has been used by family and friends for years
| Home | Welcome | Bio | Gallery | Education | Studio | Tools | Projects in Progress | Board Foot Calculator |